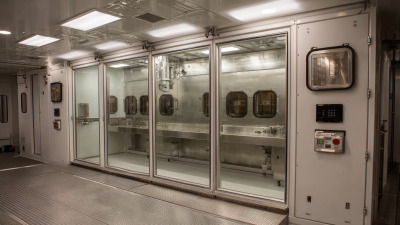
When it comes to industries like automotive or electronics, how materials hold up under environmental stress is a pretty big deal. That's where the Uv Aging Test Chamber really comes into play. It's basically a key tool used to see how materials cope with prolonged exposure to sunlight—kind of like mimicking what they’d face out in the real world over time. I recently came across a report from ResearchAndMarkets that says the global market for UV testing equipment might hit around $350 million by 2025—that just shows how important accurate testing has become these days. Dongguan Huanyi Instruments Technology Co., Ltd., which has been around since 2007, is actually leading the charge in this field, even helping to shape national and industry standards for environmental simulation testing. By tweaking and optimizing things inside the UV Aging Test Chamber, folks in the industry can get more trustworthy results. In the end, that means better quality products and they last longer—pretty awesome, right?
Key Factors to Consider for UV Aging Test Chamber Design
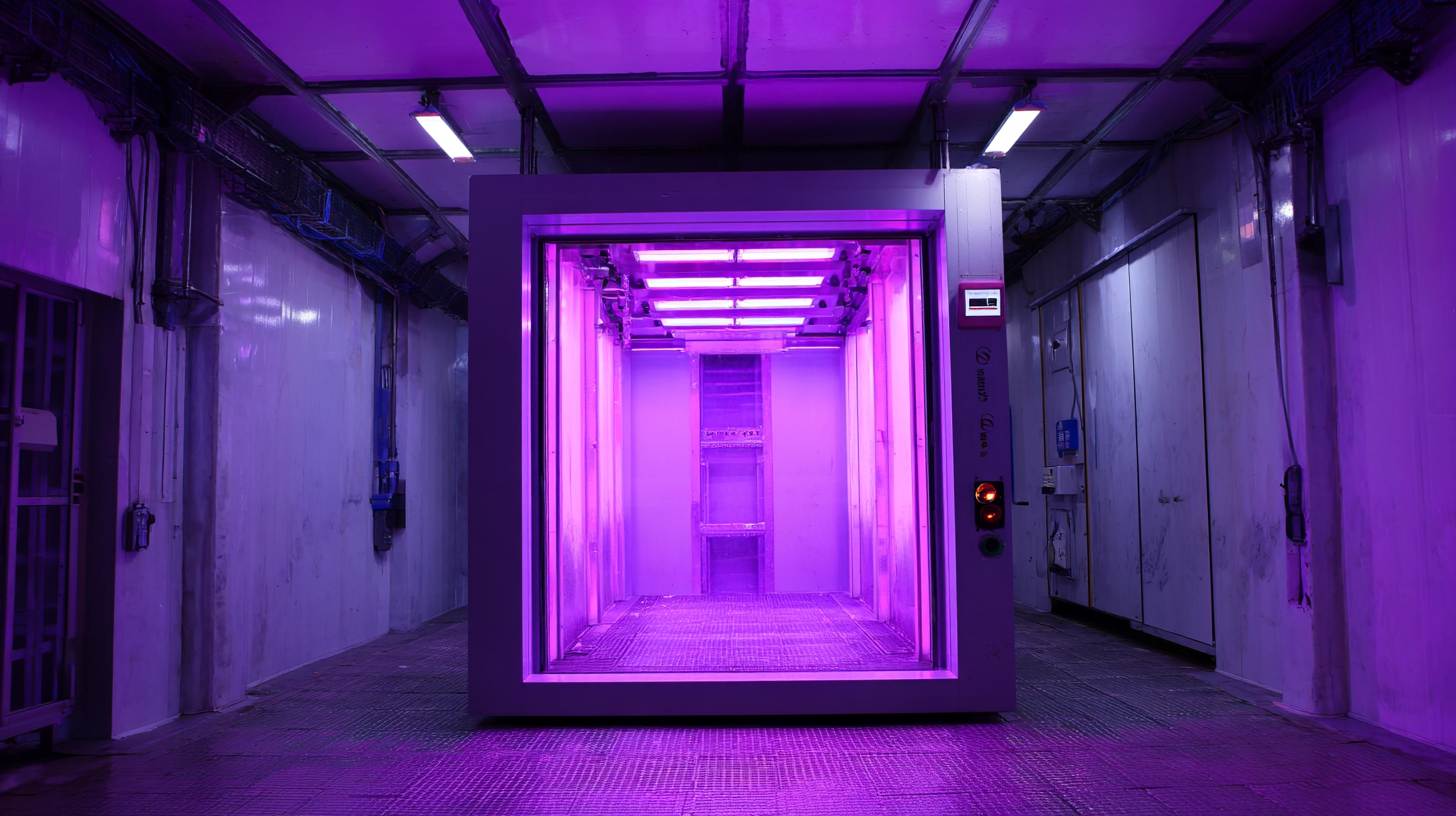
When you're putting together a UV aging test chamber, there are a few key things you really want to keep in mind to make sure your results are accurate and dependable. One of the biggies is choosing the right UV light source because, honestly, different wavelengths can make a big difference in how quickly a material will degrade. I came across a report from the International Research Institute that said materials exposed to UV-C light (that’s the 200-280 nm range) tend to break down much faster than those under UV-A (which is between 315 and 400 nm). So, if you pick a spectrum that closely matches what the material would actually experience outdoors, you’ll get way more relevant info about how long it’ll last in the real world.
Another thing that’s just as important is keeping the temperature and humidity under control. A study published in the Journal of Material Science pointed out that even small changes in temperature or humidity can really affect how materials break down when exposed to UV. For example, sticking with a steady temperature range—say, between 40 and 60°C—can mimic outdoor conditions pretty well, which helps make your lab results more predictable when it comes to real-world use. And honestly, using some high-tech sensors to monitor everything in real time can make a huge difference. It ensures all those environmental factors stay just right during testing, so you get a clear and accurate picture of how your material will perform over time.
UV Aging Test Chamber Performance Metrics
Best Practices for Calibration to Ensure Accurate Test Results
Calibrating your UV aging test chamber is really important if you want your material testing results to be accurate. A solid tip I’ve come across is to use certified calibration standards and equipment—that way, you know your chamber is actually delivering the right UV intensity and exposure wavelengths for whatever materials you’re working with. It’s a good habit to regularly compare what your chamber’s putting out against those standards; if there’s any discrepancy, it’s better to catch it early so you can tweak things and keep your results trustworthy.
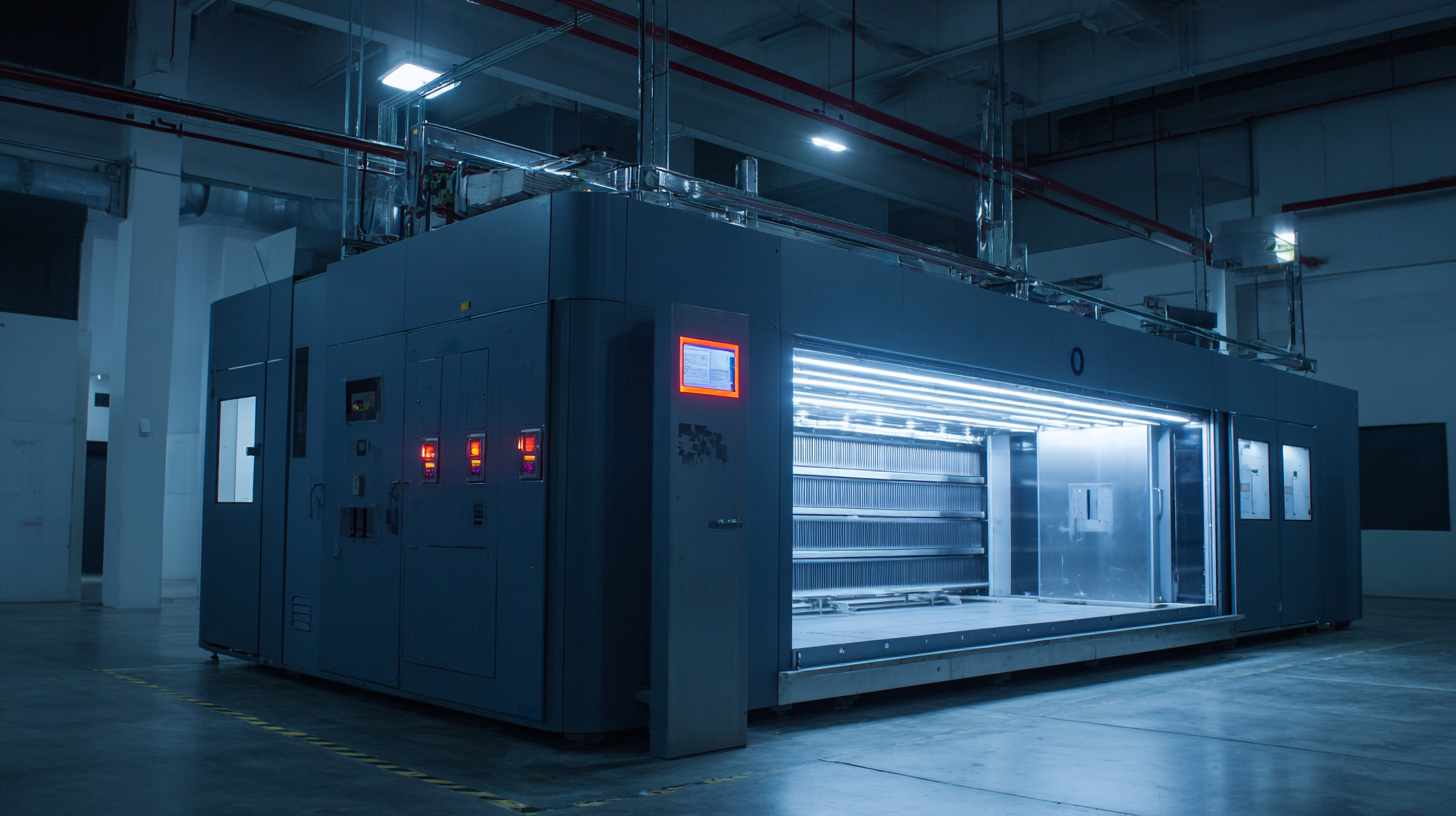 Another thing to keep in mind is keeping an eye on the environment inside the chamber. Things like temperature, humidity, and how clean the chamber is can really throw off your aging tests. Installing some real-time monitoring tools can make a huge difference—they help keep conditions stable and cut down on unexpected variability. Plus, don’t forget to perform regular maintenance checks and recalibrate as the manufacturer recommends. That way, you’ll make sure your chamber stays in top shape, which means more reliable data and smoother testing overall.
Essential Maintenance Tips for Longevity of Testing Equipment
Taking good care of your UV aging test chamber really matters if you want reliable results and to make sure your equipment lasts longer. It’s a good idea to check the UV lamps regularly because their brightness can fade over time. Pull out a UV radiometer to measure how much light they’re putting out, and don’t forget to swap out the lamps when the manufacturer recommends. Doing this not only keeps your test results dependable but also ensures that the exposure levels stay consistent every time you run a test.
Oh, and don’t overlook keeping the chamber spotless—dust and dirt can mess with the UV exposure and throw off your data. Make it a habit to clean it regularly, and take a quick look at the seals and filters to see if they’re wearing out. Also, making sure the chamber is airtight can help prevent outside factors from messing with your tests. If you stay on top of these simple maintenance tips, your UV aging test chamber will perform better and last longer, making it a really valuable tool in your material testing toolkit.
How to Optimize Your UV Aging Test Chamber for Accurate Material Testing Results
| Maintenance Task | Frequency | Importance Level | Notes |
| Calibrate UV Lamps | Quarterly | High | Ensure UV output is within specified range for accurate results. |
| Clean Test Chamber Interior | Monthly | Medium | Removes contaminants that can affect test accuracy. |
| Inspect and Replace Filters | Every 6 months | High | Blocked filters can reduce airflow and lead to temperature inconsistencies. |
| Check Temperature Calibration | Monthly | High | Critical for maintaining standard testing conditions. |
| Document Usage and Results | Ongoing | Medium | Keeps track of performance trends over time. |
| Perform Safety Checks | Monthly | High | Ensures user safety and prevents equipment malfunctions. |
Optimal Configuration of UV Light Intensity and Exposure Time
Getting the right balance of UV light intensity and exposure time is super important if you want your UV aging tests to be accurate and reliable. The folks at ASTM, for instance, have pointed out that even a small change—like just 10% in UV light intensity—can really impact how much materials degrade. In fact, some studies show that such a tweak could change how much polymer weight is lost after a hundred hours of testing by up to 5%. So, it’s pretty clear that calibrating those UV light sources properly in aging chambers is a must if we’re trying to mimic real-world conditions as closely as possible.
And yep, exposure time matters just as much. According to research published in the Journal of Materials Science, some materials don’t degrade in a straight line—they do weird stuff over time. Basically, the deterioration can speed up disproportionately after a certain point. For example, a polymer might lose about 20% of its tensile strength after 200 hours, but if you push it to 500 hours, that drop could reach 50%. That’s why figuring out the perfect combo of UV intensity and how long the material’s exposed is so crucial—you want your predictions about how long a material will last and how it’ll perform to be as spot-on as possible.
Comparative Analysis of UV Aging Testing Standards and Protocols
When you're diving into UV aging tests, it’s pretty important to get a good handle on the different standards and protocols out there. Trust me, they vary a lot depending on your industry. For example, some folks use ASTM G154, others stick to ISO 4892, or even JIS K 7336. Each one has its own quirks — like how long you need to run the test, the light intensity, and environmental conditions. If you take a moment to compare these standards, you'll notice that some are all about speeding things up with accelerated aging, while others are more about mimicking real-world, long-term exposure. That way, you can pick the protocol that really fits your materials and what you're trying to prove about their performance.
Now, if you want to make sure your UV aging test chamber is working at its best, here are a few tips. First off, don’t forget to regularly calibrate those UV lamps. You want the light intensity to stay consistent throughout your tests—that’s key. Next, it’s a good idea to use data logging tools; keeping track of temperature and humidity inside the chamber can make a huge difference because those things really influence how materials react to UV exposure. And finally, make sure you’re familiar with the specific requirements of whichever standard you're following. Adjust your chamber settings accordingly so your tests more accurately mimic real-world conditions—that way, your results are more reliable and meaningful.
Innovative Accessories to Enhance the Performance of Testing Chambers
You know, innovative accessoriesreally make a difference when it comes to getting the most out of UV aging Test Chambers. They help deliver more accurate and reliable results, which is a total game-changer. I read in this report by theMaterial Testing Association that using fancy spectral filters and reflective surfaces can boost the evenness of UV light inside the chamber by up to 30%. That might sound technical, but it’s super important because it mimics real-world conditions better. When the light’s evenly distributed, you can trust that your materials are being tested under consistent environments – and that’s what really matters for valid results.
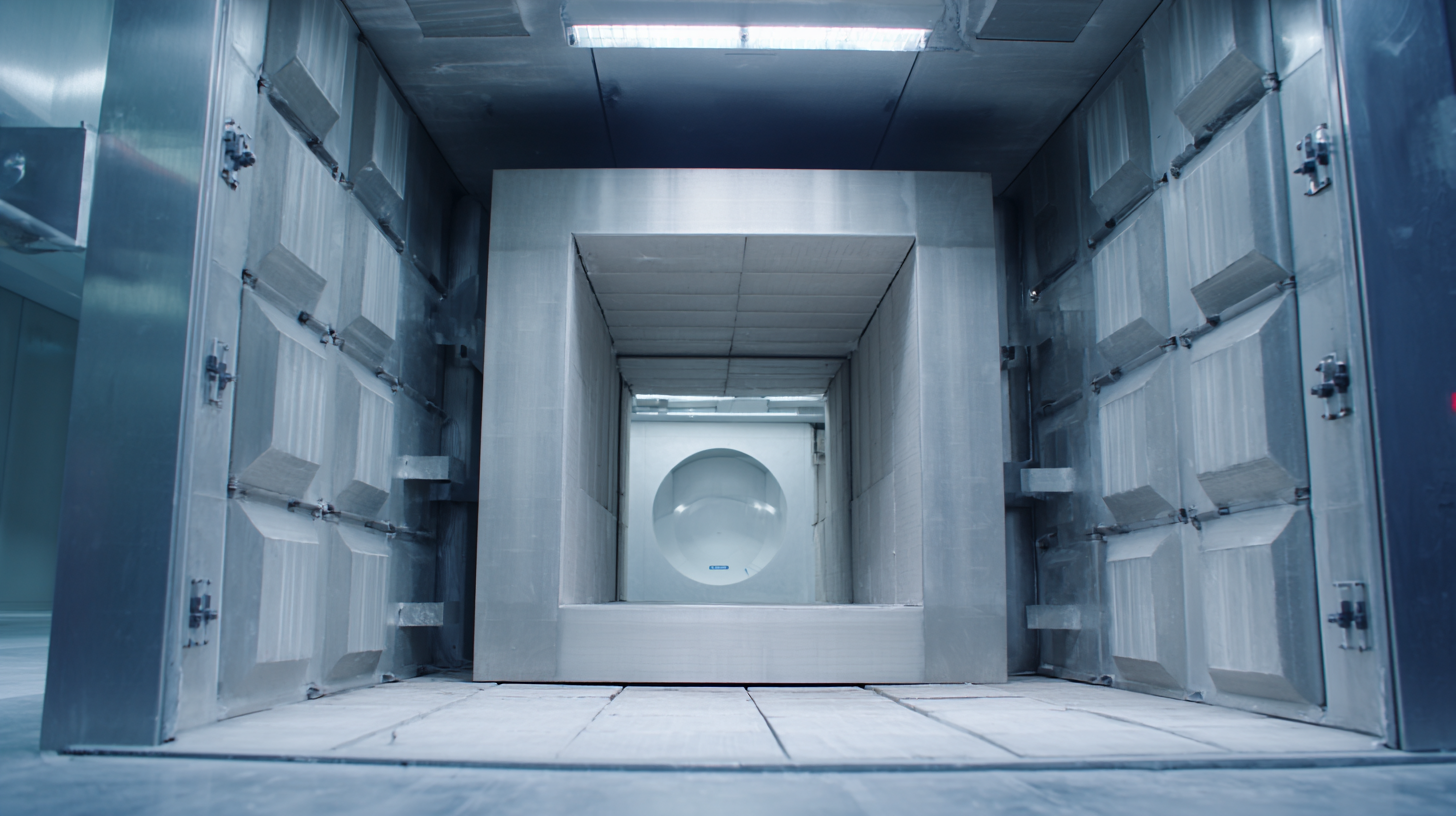
Another cool thing is the addition of data loggers and automated monitoring systems. A recent study showed that keeping an eye on temperature and humidity in real-time can bump up the accuracy of UV aging tests by nearly 25%. These systems are like having a dedicated researcher on hand—they let you catch any changes right away and make quick adjustments, which keeps the testing process on point. Oh, and don’t forget about specialized racks or holders designed for different materials. They ensure each sample gets an equal dose of UV light, so you get more reliable comparisons and better overall testing. Honestly, these little tweaks can really make a huge difference in your results.
FAQS
: Calibrating your UV aging test chamber is crucial for obtaining accurate material testing results. It ensures that the chamber provides the appropriate UV intensity and exposure wavelength required for your specific materials.
One best practice involves using certified calibration standards and equipment to regularly compare the chamber’s output, helping to identify discrepancies that may affect test outcomes.
Environmental factors such as temperature, humidity, and chamber cleanliness can significantly affect aging test results, which is why monitoring these conditions is essential.
Implementing real-time monitoring systems can help maintain stable conditions and reduce variability in test results.
Routine maintenance checks and recalibrations should be performed according to the manufacturer’s guidelines to ensure optimal working condition of the chamber.
The intensity of UV light can significantly influence the degradation rate of materials, with studies showing that a 10% variation in intensity can alter weight loss of some polymers by up to 5% after 100 hours.
Exposure time is essential because some materials exhibit nonlinear degradation behaviors; extended exposure can disproportionately increase the rate of deterioration.
Determining the correct balance is vital for accurately predicting material longevity and performance, as improper settings can lead to inaccurate test results.
Extended exposure can lead to significantly increased degradation rates; for example, a polymer’s tensile strength may decrease dramatically with prolonged exposure.
Proper calibration enhances the reliability of the data generated during material testing by ensuring accurate and consistent testing conditions.
Conclusion
When you're trying to get accurate results in material testing, making sure your UV Aging Test Chamber is set up just right is a big deal. Things like good ventilation and making sure the materials you test are compatible really help in getting dependable outcomes. Don’t forget—calibration is super important too. It helps ensure your equipment stays within the right settings, so your test results stay consistent. Regular maintenance is also a must if you want your testing gear to last and work smoothly over time.
On top of that, tweaking the UV light intensity and exposure time can make a real difference in your test results. It’s also really helpful to be familiar with different UV aging testing standards and protocols—knowing these keeps you compliant and makes your results easier to compare with others. Oh, and if you want to take things up a notch, think about adding some cool accessories that can boost your chamber’s performance. Focus on these key areas, and you'll see an improvement in how accurate and reliable your material tests are—no sweat!